em•bel•lish \im-'be-lish\ 1: to make beautiful with ornamentation: decorate 2: to heighten the attractiveness of by adding decorative or fanciful details: enhance
Tuesday, August 31, 2010
A few "old" cards...
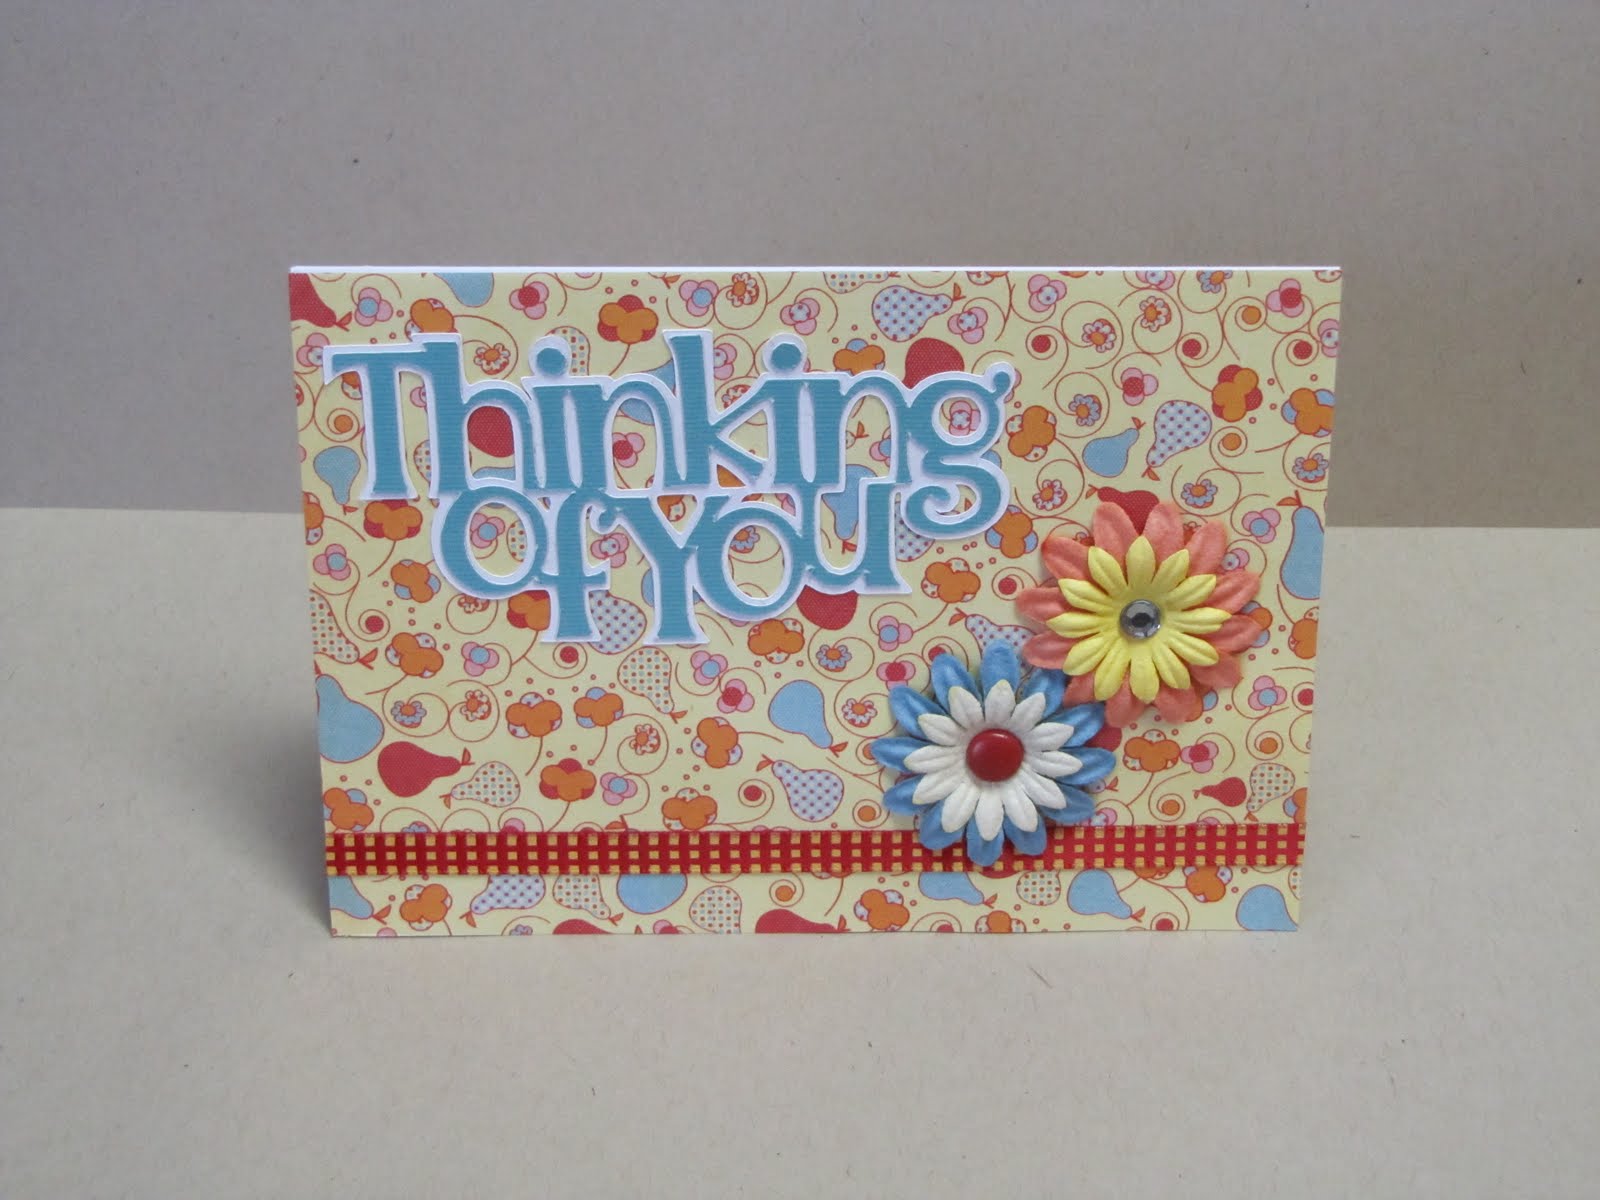
Well I say "old" because I made them over a year ago. But the truth is I haven't been able to part with them. Shameful, I know. They are the very first cards I made...EVER. I made them with sentiments cut from my Cricut, a DCWV Summer Stack, adhesive ribbon, flowers and brads. Very simple.
Note to self: Work on making then giving rather than making then hoarding!
Sunday, August 29, 2010
Anything Tim Holtz
I was really excited when I found out the Simon Says Stamp and Show Challenge for this week was Anything Tim Holtz. I had so many wonderful ideas and techniques that I wanted to try out. But...my girls started school last Tuesday and I was just too busy to try out anything over the top so I stuck to the basics.
I distressed this tag with Dusty Concord, Peeled Pain and Walnut Stain Tim Holtz Distress Ink. I used a Tim Holtz Mask and Stampers Anonymous Stamp. I finished off the tag by spritzing with a mini mister of Brushed Corduroy and gold Perfect Pearls.
I kept it very simple!
Saturday, August 28, 2010
Cricut Cardz Challenge #39
Here is the card I created for the Cricut Cardz Challenge this week. For challenge #39 we had to make something for "Back to School". I did just that for this card! I used the cartridge Locker Talk for all cuts. I also used my Cricut DesignStudio for the first time ever. I made my card base by welding together the apple shape and a "flip" of the same apple shape.
I'm going to send this card to Sophia's Kindergarten teacher, Mrs. Rufo, who moved to a different school this year. We miss her very much so we'd thought we'd send her this card to say "hello" and wish her a great year!
Friday, August 27, 2010
Cardabilities Sketch #8
This is a card I made based upon Cardabilities Sketch #8. The deadline for submission has passed...I just made this one for fun.
I cut my card base with my Cricut using the Wild Card cartridge. All other shapes from Storybook. Patterned Paper is Colorbok. Ribbon is American Crafts. Not sure where the flowers came from, bling is Prima. Stamp is a $1 wood stamp from Michael's. I picked up a few cheap sentiment stamps the other day and I'm loving them. I used Ranger Jet Black Archival to stamp.
Have a great weekend!!
Thursday, August 26, 2010
CupCards {to go}
So the other day I was checking out all of my favorite blogs and I came across a blog hop on Lea's Cupcakes & Sunshine blog. CupCards {to go} was having their September Sneak Peek Blog Hop...I participated...and I won!! The best part is that I found a really cool blog on accident! CupCards {to go} has great monthly kits for a very reasonable price. In addition to the cool products you can purchase, you can find tons of inspirational designs and sketches in their Designer Gallery. And the Design Team ROCKS!! Check it out for yourself!
Wednesday, August 25, 2010
I'm a Cricut Cardz Challenge Design Team Member!!
Hello!
I am very happy to announce that I have been chosen to be part of the Cricut Cardz Challenge Design Team. Click here to head over to the blog. Click on the Design Team member's name to be directed to their blog to check out the awesome work they do. I'm so excited to start. My first official DT submission will be for week #41. Until then I'll be playing along with the challenges.
Bye!
I am very happy to announce that I have been chosen to be part of the Cricut Cardz Challenge Design Team. Click here to head over to the blog. Click on the Design Team member's name to be directed to their blog to check out the awesome work they do. I'm so excited to start. My first official DT submission will be for week #41. Until then I'll be playing along with the challenges.
Bye!
Tuesday, August 24, 2010
School Days
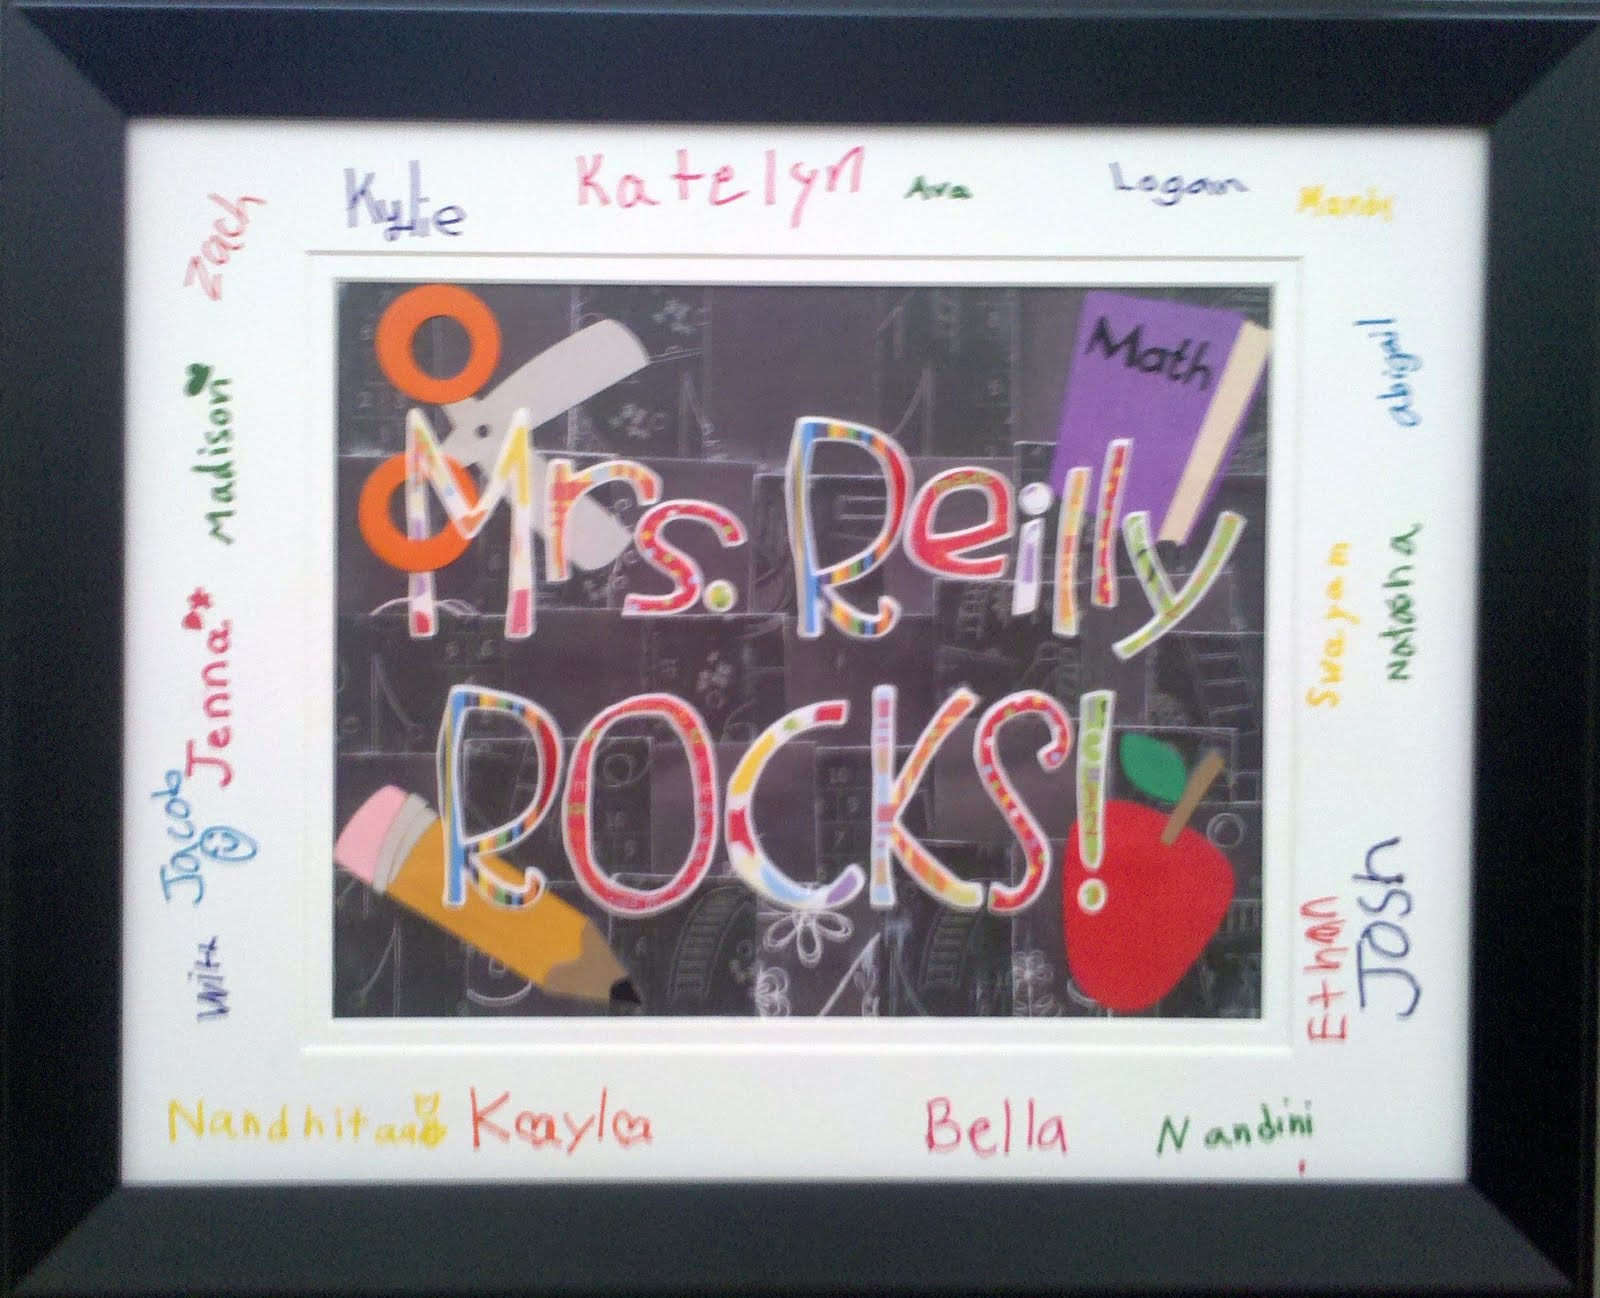
Isabella had Mrs. Reilly for 2nd Grade
Sophia had Mrs. Rufo for Kindergarten
Since today is the first day of school, I thought I'd share these collages I made for the teachers last school year. We presented the teachers with these gifts on the last day of school. They loved them!
Keep in mind that picture quality is not great as I used the camera on my cell phone.
I used my Cricut, ZooBalloo and Locker Talk cartridges to cut the letters and images. Paper is DCWV Grade School 8 x 8 Paper Stack and regular primary colored cardstock. I collaged on a canvas panel and used Mod Podge as my sealer and finish. We had the kids in the class sign a mat and put the finished product in a black frame, no glass.
Well I'm off to get my girls ready for their first day as a first and third grader!
Monday, August 23, 2010
CPS #181
This is the card I made for the Card Positioning System Challenge this week. Click here for the CPS #181 sketch.
I used Stampin' Up! Kraft Cardstock for my base. The textured cardstock is also SU. I rolled the edges of this piece to create a more distressed look. The white cardstock piece was cut using a Fiskar border punch then inked with Tim Holtz Distress Ink in Antique Linen, Tea Dye for the edges. The flowers were cut using my Sizzix and the Tim Holtz Alterations Tattered Floral Bigz Die. I then cut the same small flower in My Mind's Eye Life Stories patterned. I used Ranger Glossy Accent to attach the paper to the cardstock, then applied a layer of Glossy Accent over the top of the flower to create my own epoxy embellishment. Sentiment is also from My Mind's Eye Life Stories collection.
Off to work...Have a great day!!
Saturday, August 21, 2010
Cricut Cardz Challenge #38
Hello!
Here is a card I created for the Cricut Cardz Challenge this week. For challenge # 38...ANYTHING GOES! Make a card using any cartridges, colors or theme you'd like.
This card was made for a school friend of my daughter Sophia. Macy is celebrating her 6th birthday with a prince and princess party. I thought it was only fitting to make her a card using the Once Upon a Princess cartridge. Macy even looks like this little blonde princess! Hope she likes the card.
Visit the Cricut Cardz Challenge blog to see the Design Team inspiration and all of the other entries. It's not too late to create!!
Friday, August 20, 2010
THE Wendy Vecchi...Studio 490 Style
Hello!
This weeks Simon Says Stamp and Show Challenge was THE Wendy Vecchi - Studio 490 Style.
I LOVE WENDY VECCHI!!! I am a new fan. I found her blog a couple of months back and would spend about an hour every night reading through old posts until I had read them all. I especially love her chipboard pieces and used this as my inspiration for my art piece. I used her Flower Art set for this challenge. I included all 6 of the stamps. I can definitely see myself making more Wendy Vecchi/Studio 490 style art in the future.
Supplies:
Chipboard
Ranger Pigment Ink-Snow Cap, Denim
Ranger Clear Embossing Powder
Tim Holtz Distress Ink (Frayed Burlap, Walnut Stain, Vintage Photo, Weathered Wood, Tea Dye, Black Shoot, Dusty Concord)
Ranger Archival Ink-Jet Black
Studio 490 Flower Art Stamp Set
Grungeboard
Tim Holtz Alterations Sizzix Tattered Floral Bigz Die
My Mind's Eye paper
Dictionary Page
Cloud 9 Design Fabric Brad
Stampin' Up! Button
Stampin' Up! Linen Thread
American Crafts Ribbon
Subscribe to:
Posts (Atom)